Step 6
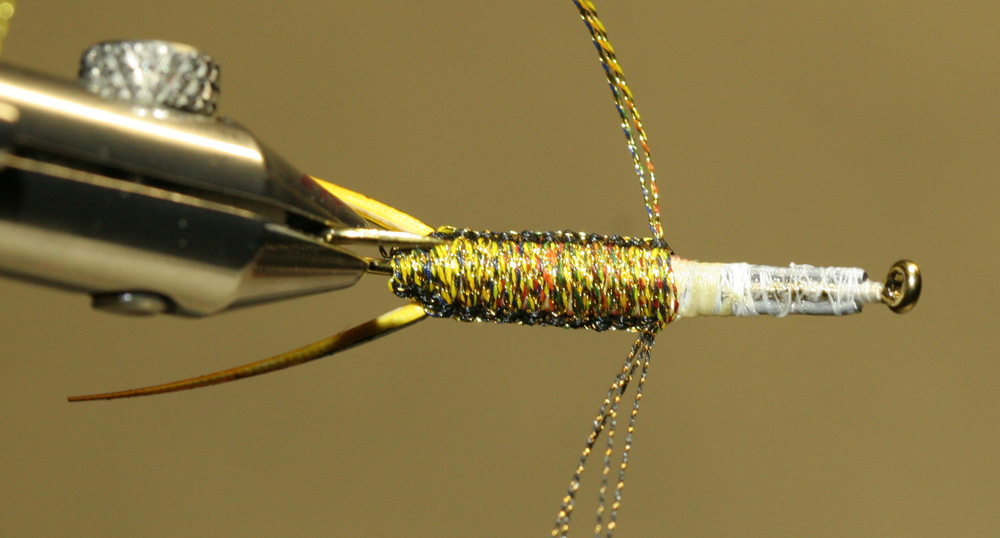
Here is what it looks like from the top and bottom when you are finished with the body.
Step 7
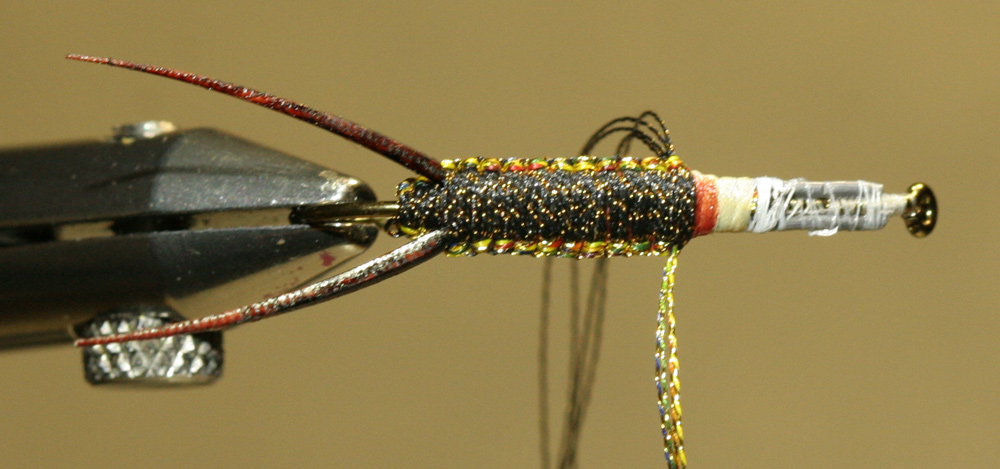
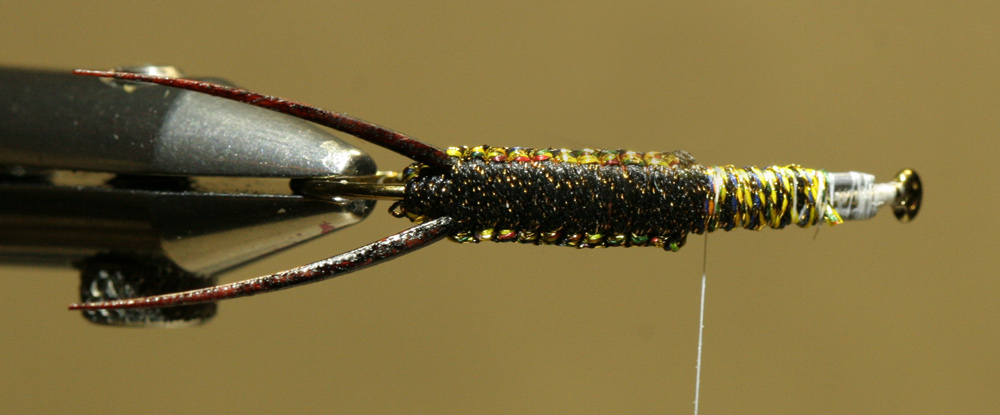
Wrap the darker color embroidery floss a couple of times around the thorax and tie off and cut the end piece. Take the lighter color floss and wrap further down the thorax and tie off and cut the end piece.
Step 8
Take two piece of porcupine guard hair and tie them in for the antennae. They are tied on the side of the hook.

Step 9
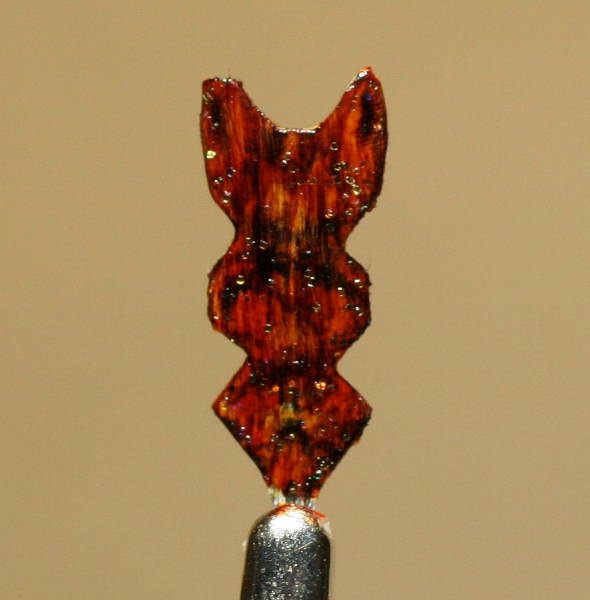
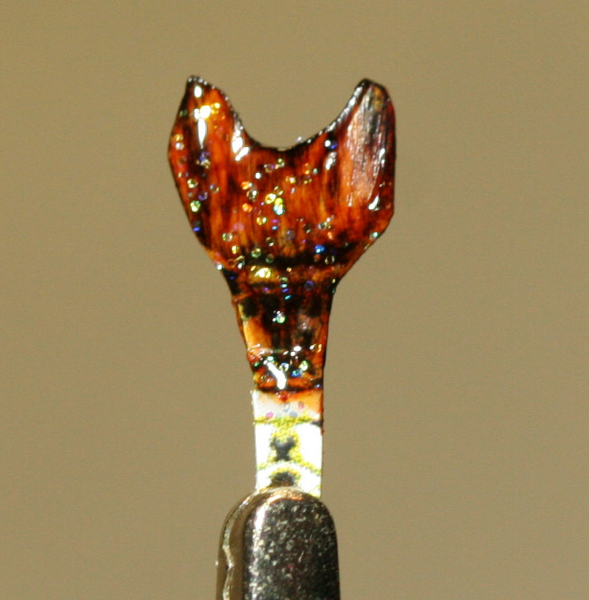
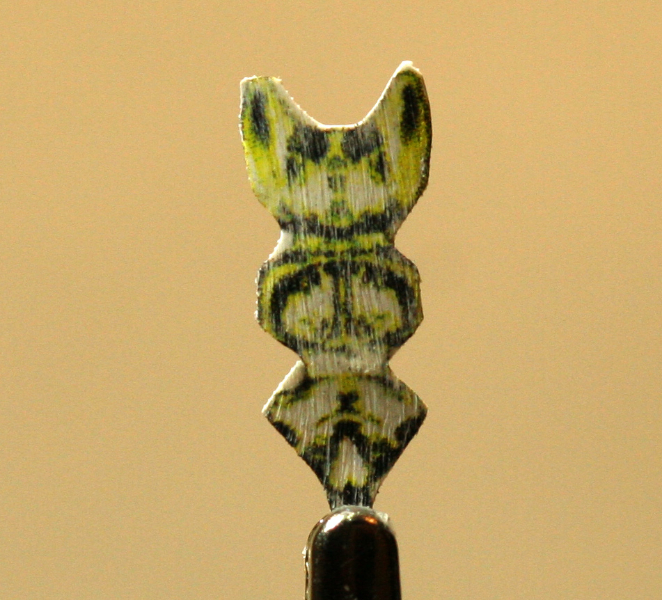
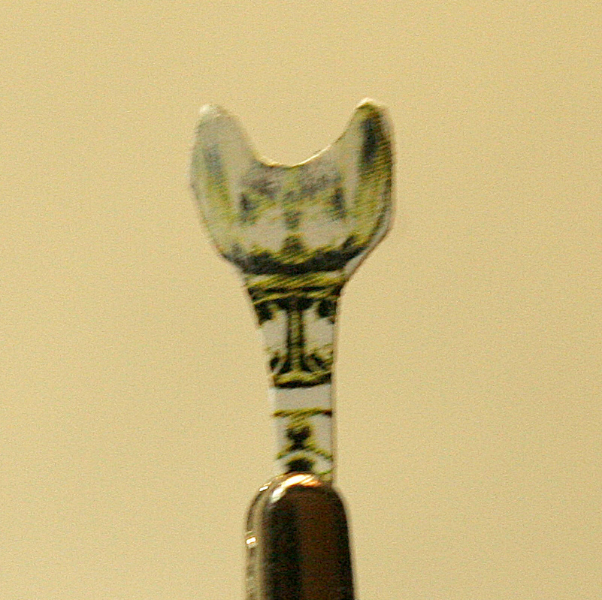
Take two wing buds that have been printed on waterproof paper and cut them out. I usually run the face of them over sandpaper a couple of times to give them a rougher look.
Step 10
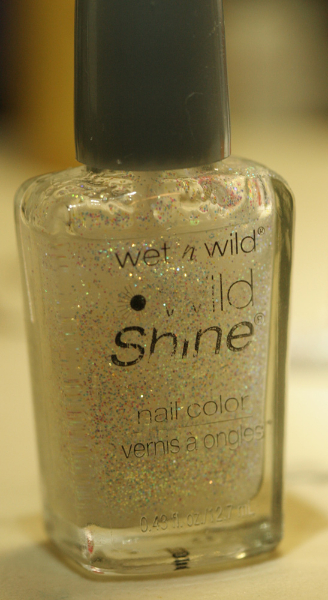
Take the wing buds and color them the desired color. I usually take a lighter color and color the wing bud first, and then a darker color and mix the colors. An optional step is to apply a coat of finger nail polish or head cement to the wing buds. This will also mix the colors from the markers together. Sparkle finger nail polish can also be used. Let them dry for a few minutes before handling.
